
How to Wash Cloth Diapers with Poop Using the 2-3 Day Rule
This post contains affiliate links. As an Amazon Associate, we learn from qualifying purchases
Wash cloth diapers with poop by removing solids (unless the baby is exclusively breastfed), storing in a breathable dry pail, and running a wash routine every 2-3 days. The routine needs a cold pre-wash without detergent followed by a warm main wash with a cloth-safe detergent. Water temperature must stay at or below 130°F (54°C) to protect waterproof PUL layers and elastics.
That 2-3 day window is not a suggestion. It is the hard line between a clean stash and a persistent ammonia problem. Waiting longer gives bacteria time to convert urea in urine into ammonia, which then binds to mineral deposits in the fabric. The result is diapers that smell sharply of pee the instant they get wet, a problem no amount of detergent can fix in a single cycle.
What follows is the breakdown of that routine, the science behind the timing, and the manufacturer disagreements most guides smooth over. You will learn why some brands tell you to never rinse and why water temperature is a ceiling, not a target.
Key Takeaways
- Wash every 2-3 days, without exception. Stretching to 4 days invites ammonia buildup and mold.
- Exclusively breastfed baby poop is water-soluble and requires no rinsing. The switch to formula or solids means you must remove waste before washing.
- Keep wash water at or below 130°F (54°C) to preserve PUL waterproofing and elastic lifespan. Hot water is for sanitizing, not routine cycles.
- Load your washing machine drum between half and two-thirds full with diapers and small agitation aids. An underloaded machine will not clean effectively.
- Never use fabric softener, detergent with added softeners, or diaper creams not labeled cloth-safe. They coat fibers and cause repelling leaks.
The First Step: What Goes in the Pail?
Your washing routine is decided before the machine starts. The contents of your storage pail set the stage for success or failure.
Exclusively breastfed baby waste is fully water-soluble. Diapers can go straight into the pail without rinsing. Once a baby starts formula or solid foods, you must remove solid waste into the toilet before storing the diaper.
This is the single most important filter. For the first several months, you have a pass. Enjoy it. The moment you see thicker, peanut-butter-like consistency in the diaper, that pass is revoked. From that day forward, solids go into the toilet.
Removal methods vary. You can use a dedicated diaper sprayer attached to your toilet, a handheld bidet sprayer, or even a simple dunk-and-swish in the toilet bowl. Some parents use biodegradable liners that catch solids and can be flushed. The goal is physical removal.
Where this goes sideways: Rinsing a diaper and then letting it dry out in the pail. If you rinse, the diaper must stay damp, nearly dripping wet, until it hits the wash cycle. A dried-on poop stain sets into the fibers and becomes much harder to lift.
Store rinsed diapers in a sealed wet bag inside your pail to maintain moisture. For unrinsed diapers from a baby on solids, a breathable, open dry pail is best. This is where a good cloth diaper pail makes a difference, allowing air circulation to slow bacterial growth without letting things dry out completely.
The 2-3 Day Rule: Why Timing Is Everything
You can buy 50 diapers. You still need to wash every 2 to 3 days.
The chemistry is simple and unforgiving. Bacteria in urine break down urea into ammonia. In a closed, moist environment, this process accelerates after about 72 hours. Ammonia is alkaline and corrosive. It damages elastic fibers and, once bonded to fabric, creates a lingering odor that emerges with every subsequent wetting.
Common mistake: Stockpiling a week’s worth of diapers to minimize laundry. By day four, the ammonia process is underway. By day seven, you may need to strip cloth diapers to reset them, which is far more work than an extra wash cycle.
Mold and mildew are the other guests invited by delayed washing. A warm, dark pail is their perfect home. A weekly wash virtually guarantees you will see spots. The 2-3 day rule is your primary defense. It is the most non-negotiable part of any laundry routine.
The Machine Load & Agitation Math
Your washing machine cleans through agitation, the physical rubbing of fabrics against each other. Too few items in the drum, and they float peacefully in dirty water. Too many, and they cannot move. Both scenarios leave soil behind.
Manufacturer Esembly specifies loading the washer barrel between ½ and ⅔ full. This is not about weight; it’s about volume. You want a drum that looks reasonably packed when the diapers are dry.
| Load Visual | Result | Fix |
|---|---|---|
| Drum looks half-empty | Items float, no friction | Add small baby clothes, washcloths, or socks |
| Drum is crammed full | No movement, poor rinse | Remove some items or split the load |
| Drum is ⅔ full, items can move | Optimal cleaning agitation | This is the target |
Small items like baby socks or burp cloths are perfect “agitators.” Avoid large items like towels or sheets, they wrap around diapers and trap waste. This mechanical action is why your choice of detergent for cloth diapers matters less than the machine’s ability to scrub.
The Two-Cycle Wash Routine (Step-by-Step)
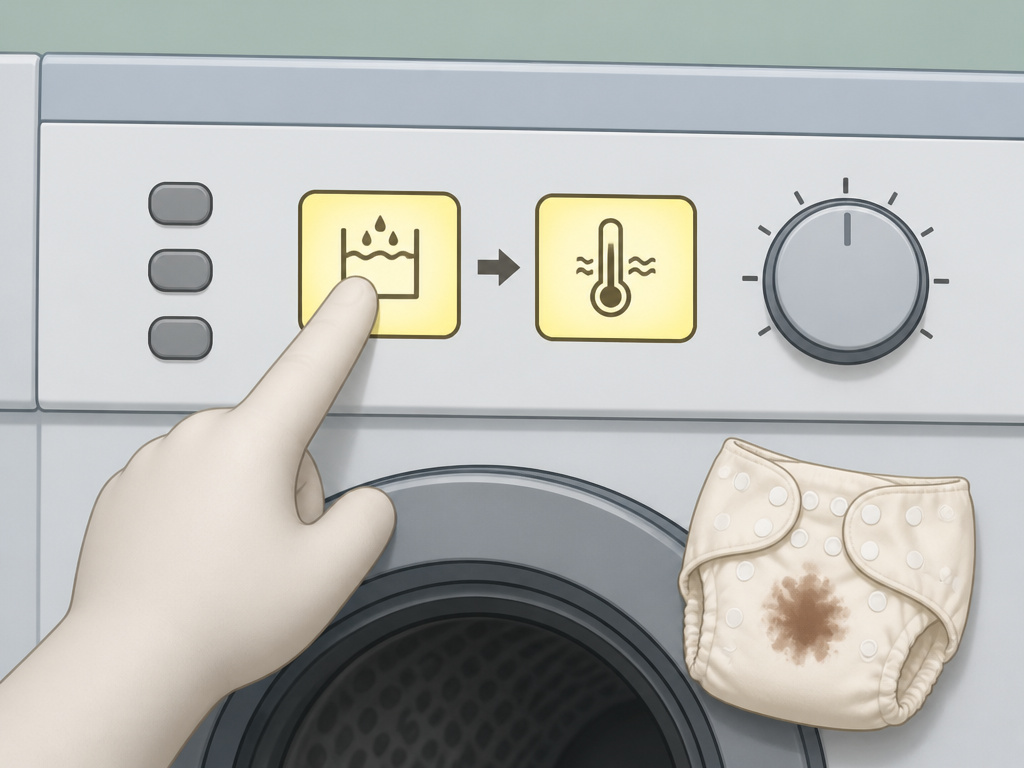 This is the core sequence. It works for every major brand and fabric type.
1. The Pre-Wash or Rinse Cycle
- Cycle Type: Speed wash, quick wash, or rinse cycle.
- Water Temperature: Cold.
- Detergent: None.
- Purpose: To loosen and flush away the majority of urine and soluble waste. It preps the diapers for the deep clean.
Skipping this cycle means your main wash is trying to clean heavily soiled diapers in one pass. It often fails, leaving detergent residue and minerals embedded in the fibers. This residue becomes the anchor point for future ammonia.
2. The Main Wash Cycle
- Cycle Type: Heavy duty, normal, or cotton cycle.
- Water Temperature: Warm (aim for 90°F–110°F / 32°C–43°C).
- Detergent: Use the full manufacturer-recommended amount for a heavily soiled load. This is critical.
- Extra Rinse: If your machine has the option, use it. It helps ensure all detergent is rinsed away.
This cycle does the heavy lifting. The warm water helps surfactants in the cloth diaper detergent grab onto oils and soils, while the agitation physically removes them.
Worth knowing before you start: Some brands, like Esembly, explicitly warn against using cold water for the main wash. Their stance is that cold water causes natural fibers to constrict, locking in soil. Most other guides list cold as fine for the pre-wash only. When in doubt, follow your diaper manufacturer’s guidance.
Water Temperature: The 130°F Ceiling
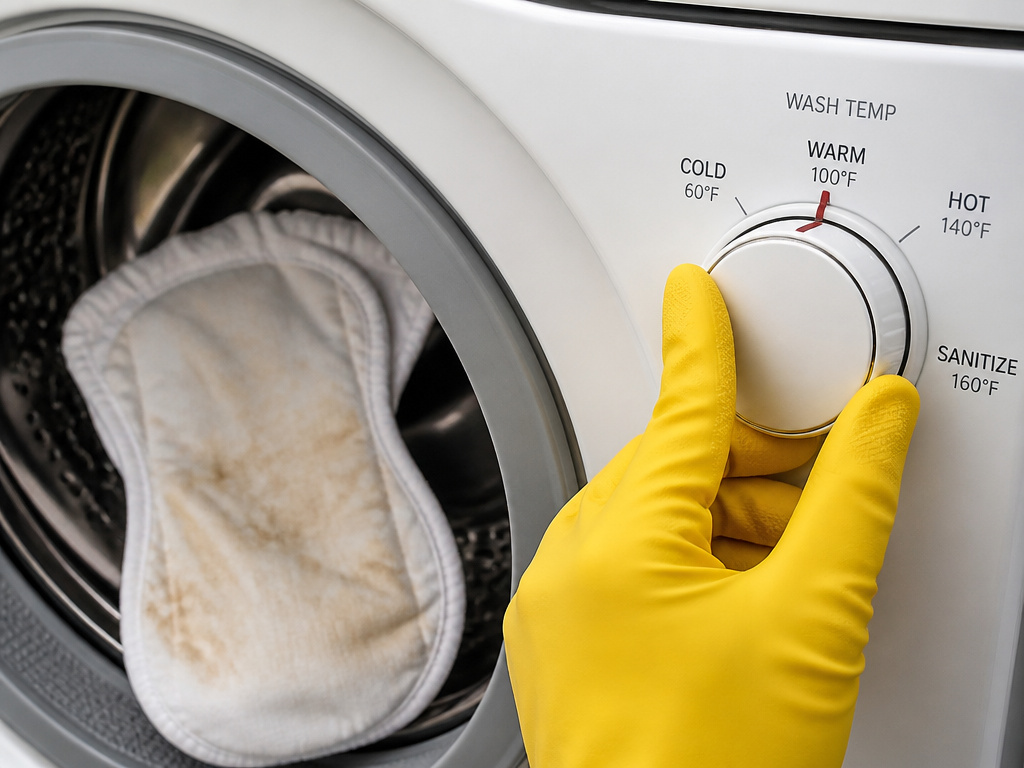 Heat damages materials. The waterproof Polyurethane Laminate (PUL) on diaper covers, the elastic around legs, and the microfiber in inserts all degrade faster with repeated hot water exposure.
Keep water temperature at or below 130°F (54°C) to protect PUL, microfiber, and bamboo. Hot water is a tool for monthly sanitizing or stripping, not for daily cleaning.
Exceeding this temperature, especially over dozens of washes, will cause the laminate to delaminate (peel apart) and elastics to become brittle and snap. Your diapers will leak and their usable life will be cut in half. A warm wash around 100°F is sufficient for routine cleaning with a good effective soaps for cloth diapers.
What Not to Use: The Repellent League
Certain products create an invisible, water-repellent barrier on cloth fibers. This barrier causes leaks because liquid pools on the surface instead of being absorbed.
The banned list:
- Fabric softeners (liquid, sheets, or detergents with built-in softeners)
- Detergents containing natural oils or plant-based softening agents
- Diaper rash creams not formulated for cloth diapers (look for cloth-safe labels)
- Detergents with sodium percarbonate (a bleaching agent) if you have colored diapers
These ingredients coat the fibers. Once coated, the diaper’s core job, absorption, fails. If you suspect buildup, you’ll need to follow a guide to stripping cloth diapers. For rash prevention, always use a cloth-safe diaper rash cream.
Drying: Line vs. Machine
The sun is a powerful, free sanitizer and stain remover. Ultraviolet light breaks down organic compounds, which is why sunning diapers often removes stubborn stains.
Line Drying (Preferred):
- Pros: Extends diaper life, sanitizes, removes stains, costs nothing.
- Cons: Weather-dependent, slower.
- Rule: Never hang PUL covers or items with elastics over direct dry heat like a radiator. It melts laminate.
Machine Drying (Acceptable):
- Pros: Fast, convenient.
- Cons: High heat wears out elastic and can shrink natural fiber cloth diaper inserts.
- Rule: Use low or medium heat only. Remove covers and shells to air dry if possible.
The choice often comes down to climate and schedule. A mix is common: machine dry inserts on low, line dry covers and shells.
Troubleshooting: Smells, Stains, and Leaks
When your routine slips, problems announce themselves. This table diagnoses the most common issues.
| Symptom | Likely Cause | Immediate Fix |
|---|---|---|
| Diapers smell like ammonia as soon as they’re peed in | Ammonia buildup from infrequent washing or detergent residue | Strip diapers immediately. Shorten wash cycle to every 2 days. |
| Diapers smell sour or mildewy after washing | Incomplete cleaning; underloaded machine or insufficient detergent | Check drum load. Increase detergent dose for soil level. Run a sanitize cycle. |
| Persistent brown or yellow stains | Organic stains set by heat or delayed washing | Sun the diapers. Ensure rinsed diapers stay damp until wash. |
| Repelling leaks (liquid beads up on fabric) | Detergent, softener, or cream buildup | Strip diapers. Switch to a recommended safe laundry detergent. |
If smells persist after stripping, consult a resource like the The Cloth Option washing guide for advanced troubleshooting. Sometimes water hardness, which affects detergent performance, is the hidden culprit.
Frequently Asked Questions
Can you wash cloth diapers in a communal washing machine?
Yes. The routine is the same. Use a storage bags to transport soiled diapers, and run both your pre-wash and main wash cycles in the machine. The cost of two cycles is still far less than using disposables.
Do I need a special diaper sprayer?
No, but it is the most convenient tool for removing solids after the breastfed stage. A handheld bidet sprayer or a utility sink sprayer works similarly. The goal is to get the waste into the toilet with minimal mess.
How many cloth diapers do I need to follow the 2-3 day rule?
For a newborn changing 10-12 times a day, 24-36 diapers is a comfortable stash. This allows you to wash every other day with some buffer. Many parents start with a smaller stash of reviews of the best cloth diapers to see what system they prefer before investing in a full set.
Is it okay to use vinegar in the rinse cycle?
This is contested. Some manufacturers warn that the acid can degrade elastic and PUL over time. Others recommend it for odor control. The safer consensus is to avoid vinegar in routine washes. Use it only as part of a targeted stripping or sanitizing process.
The Bottom Line
Cloth diapering with poop is a system, not a mystery. The system runs on a clock, wash every 2-3 days, and respects material limits, water under 130°F. Your two biggest decisions happen before the wash: removing solids at the right time and loading the drum correctly.
Stick to cloth-safe detergents, avoid softeners, and dry with care. When problems arise, they almost always trace back to timing, load size, or an incompatible product. Fix those, and the routine holds. For everything else, from best wet bags for cloth diapers to insert choices, let your actual experience guide you more than any perfect plan.
