
A Parent’s Guide on How to Teach a Kid to Wipe Their Bum
This post contains affiliate links. As an Amazon Associate, we learn from qualifying purchases
To teach a kid to wipe their bum, use a structured, hands-on system endorsed by NHS occupational therapists. This involves guided practice with hand-over-hand assistance, teaching a specific front-to-back wiping pattern, and using tools like wet wipes and foot stools to address balance and sensory challenges. Mastery typically takes months of consistent practice, with longer timelines expected for children with coordination difficulties or developmental disabilities.
That system works because it breaks an abstract, complex task into concrete, physical steps a child can feel and see. Most guides stop at “be patient and demonstrate.” The occupational therapy manuals go deeper into the mechanics of balance, core stability, and proprioception, the sense of where your body is in space.
What follows: the exact step-by-step method from NHS pamphlets, the specific tools that bridge the learning gap, the realistic timeline you should expect, and how to adapt every piece for kids who find the standard advice useless.
Key Takeaways
- Use hand-over-hand guidance first, then transition to verbal cues only, skipping this physical stage leaves kids guessing about the required pressure and motion.
- Teach the “front, across, back” wiping pattern (starting forward of the rectum, wiping left to right, then moving backward) to ensure thorough cleaning and build a repeatable routine.
- Wet wipes are a training tool, not a convenience, their thin texture provides better sensory feedback than bulky toilet paper, making it easier for a child to feel what they’re doing.
- Expect the skill to take many months to master; for children with Down syndrome, research indicates an average completion age of 6.6 years.
- Address balance and sensation first with a foot stool and wall support; a child who is wobbling cannot coordinate their wiping hand.
The Core Challenge: It’s Not Just About Cleanliness
Wiping is a deceptively complex motor task. A child must reach behind their body with a twisted wrist, apply the right pressure through a sheet of paper, and coordinate all this while balancing on a toilet seat. NHS occupational therapy documents frame it as a puzzle of balance, core stability, proprioception, and sensation.
If any piece is underdeveloped, the whole skill stalls. A child with poor balance will use their free hand to steady themselves instead of helping with the wipe. A child with reduced sensation may not feel when they are clean, leading to incomplete wiping or accidents.
Common mistake: Starting with verbal instructions only. If a child doesn’t understand the spatial path their hand needs to travel, telling them “wipe your bottom” is as useful as telling them to “fix the carburetor.” They need physical mapping first.
This is why the commodity advice of “show them how” falls short. You must build the underlying physical and sensory skills before the specific action makes sense.
The NHS-Approved Step-by-Step System
This sequence is compiled from NHS Borders, Humber NHS Trust, and Northumbria Healthcare Foundation Trust guidelines. It moves from full physical assistance to supervised independence.
Phase 1: Physical Guidance and Sensation Games
Do not start on the toilet. Start at the kitchen table or during bath time where the child is stable and can see what’s happening.
- Hand-Over-Hand Practice. Place your hand over your child’s hand and guide them through the wiping motion on a flat surface. Use a plate smeared with a small amount of toothpaste or chocolate spread. The goal is to teach the flat-hand, front-to-back motion. Keep the wipe flat and check it after each pass.
- Develop “Wiping” Sensation. In the bath, place a blob of shaving foam on your child’s lower back and have them wipe it off. This game, noted by Betsi Cadwaladr University Health Board, builds awareness of that part of their body and the feeling of cleaning it.
- Build Proprioception. Play “bum bag” games. Sit your child sideways on a chair and hang a small bag filled with familiar objects (a key, a cotton ball) over their bottom. Ask them to reach behind and find specific items by feel alone.
Phase 2: Structured Practice on the Toilet
Once the basic motion is familiar, move to the actual bathroom context with heavy support.
| Step | Action | Why It Works |
|---|---|---|
| Posture & Setup | Ensure feet are fully supported on a step stool. Keep toilet paper within easy reach. | A stable base frees up cognitive and physical resources for the wiping task. Prevents “squishing” from overreaching. |
| The Wiping Pattern | Teach: Start forward of the rectum, wipe from left side to right side. Move backward and repeat until the paper is clean. Do one final check pass. | Creates a systematic, repeatable method. Eliminates random, ineffective swiping. The Humber NHS Trust guide specifies this “row” pattern. |
| Paper Management | Agree on a set number of sheets (e.g., 3). Mark the perforations with a pen if needed. Use a rhyme: “One square, two squares, three squares—tear.” | Prevents giant, unusable wads of paper that block sensory feedback. Builds routine and independence in material use. |
| The Check & Fold | After each wipe, the child must look at the paper. If it’s dirty, they fold it over to hide the soiled part, creating a clean surface, or get a new piece. | Reinforces the goal (clean paper) and teaches a hygienic habit. Turns an invisible task into a visual one. |
Phase 3: Fading Support
Your role shifts from physical guide to spotter and coach.
- First, move from hand-over-hand to just placing your hand on their shoulder for guidance.
- Then, give verbal cues only (“Remember your pattern. Left to right. Now check.”).
- Finally, supervise from outside the bathroom door, asking them to show you the final clean piece of paper as proof.
The Humber NHS Trust guide stresses a systematic wiping pattern: “starting from the front (forwards of rectum) and working from the left side across the middle and out to the right side… Then moving backwards (past rectum) until they reach far enough back that the toilet paper is clean.”
This structured approach is what separates a child who eventually learns from one who remains dependent for years.
Tools and Adaptations That Actually Work
Generic product lists are useless. These are the specific tools named in occupational therapy guides for specific problems.
1. Wet Wipes as a Training Tool
Forget the flushability debate for a moment. NHS Northumbria notes that wet wipes are good to use when learning bottom wiping as they wipe more easily and cover a larger surface area. Their thin, damp texture provides clearer sensory feedback against the skin than dry, bulky toilet paper. A child can better feel the cleaning action. Use them during the learning phase, then transition to toilet paper.
Keep a pack in a diaper change for a boy or girl bag for outings. For children with sensitive skin, choosing a gentle baby wipes formula is critical to avoid introducing a rash while learning.
2. Stability Solutions
Balance is non-negotiable. If your child wobbles, they cannot wipe. – Foot Stool: Essential. Feet must be flat and supported, not dangling. – Wall Support: Teach your child to face the bathroom wall, lean their non-dominant hand against it, stand with legs apart, and wipe with their dominant hand. This creates a stable tripod stance. – Grab Rail: If balance is a major issue, installing a wall rail provides a secure hold.
3. Sensory and Coordination Aids
- Disposable Gloves: For a child fearful of getting dirty, gloves can bridge the anxiety gap. The Betsi Cadwaladr guide cautions that sensation is decreased, so this is a temporary step.
- Mirror: A hand mirror lets the child check their work visually if they cannot feel when they’re clean.
- Visual Schedule: For children who struggle with sequence, a picture-based schedule next to the toilet showing the steps (sit, wipe, check, flush, wash hands) provides external memory.
Realistic Timelines and Handling Setbacks
How long should this take? The honest answer is longer than you think.
For a neurotypical child with good coordination, many months of daily practice is standard. The Liverpool City Council guide states plainly: “Bottom wiping can take many months of practice for a child to master.”
For children with developmental disabilities, the timeline extends significantly. A pediatric toilet training resource from the Children’s Hospital of Philadelphia cites research showing parents of children with Down syndrome initiate training around 3.4 years and complete it around 6.6 years on average.
Where this goes sideways: Assuming a one-week boot camp will work. Rushing creates pressure, the child resists, and you both end up frustrated. Plan for a season, not a weekend.
Regression is normal and expected. The same CHOP resource notes that hospitalizations, surgeries, or big life changes (like a new sibling or school) can cause previously mastered skills to slip. When this happens, revert to the last phase where the child was successful. Provide more support again temporarily, without shame.
Special Considerations for Sensitive Skin and Rashes
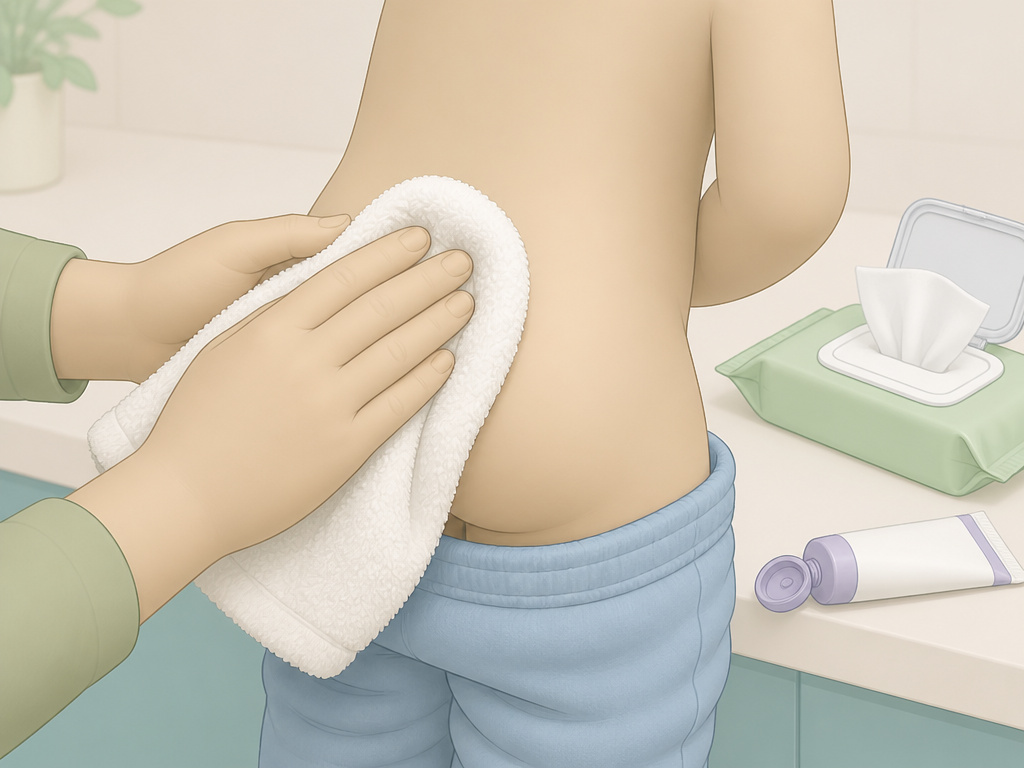 The learning process involves more wiping, which can irritate skin. This is where product choice matters.
If your child is prone to redness, the training phase is the time to use a dedicated rash prevention wipes or natural baby wipes. Their gentler formulations minimize chemical irritation. Always pat dry after using a wet wipe, don’t rub.
Have a reliable diaper rash cream on hand. Apply it proactively at bedtime during learning periods to create a protective barrier and treat any minor irritation before it becomes a painful rash that makes practicing unbearable.
Frequently Asked Questions
What is the typical age to wipe independently?
Most children develop the physical coordination and cognitive understanding to begin learning between ages 3 and 4. Mastery, doing it completely alone and well, often comes between ages 4 and 5. You can read more about the developmental timeline for wiping for a deeper look at the readiness signs.
Should I use wet wipes or toilet paper to teach?
Use wet wipes for the initial teaching phase. Their sensory feedback is superior. Once the child understands the motion and pattern, transition to toilet paper for everyday independence. Some families continue using biodegradable wipes long-term, especially for cleaning a baby girl to ensure thorough cleaning.
How do I teach front-to-back wiping to a girl?
Use clear, simple language tied to anatomy they know: “Always wipe from your front (where your pee comes out) toward your back (where your poop comes out).” Practice the motion during bath time when they are washing themselves. The principle is the same for wiping after pee to prevent UTIs.
My child is scared of getting poop on their hand. What can I do?
This is very common. Start with disposable gloves to eliminate the fear. Use the plate-smearing practice game to desensitize them to the idea in a controlled, clean environment. Reassure them that everyone washes their hands with soap right after, it’s the final, non-negotiable step.
How many times should they wipe?
Don’t leave it to chance. Teach a specific number, like 3 or 5 times, and then mandate a “check wipe” with fresh paper. The Betsi Cadwaladr guide suggests teaching to “wipe 5 times and check” for children who may not feel when they are clean. This builds a reliable routine.
Before You Go
Teaching bum-wiping is a marathon of minor victories. The goal isn’t a single perfect wipe, but installing a reliable, hygienic system your child owns. Anchor that system in physical guidance first, then a structured pattern. Use wet wipes as a trainer, not a crutch. And match your timeline to your child’s reality, months, not days.
Your job is to build the scaffold. Their job is to climb it. When they finally hand you that clean piece of paper without you asking, you’ll know the scaffold can come down.
