
A Guide on How to Start Potty Training With Proven Methods
This post contains affiliate links. As an Amazon Associate, we learn from qualifying purchases
To start potty training, you need a potty or seat, a routine, and patience, not just a list of readiness signs. Begin by having your child sit fully clothed on the potty for a few minutes at routine times, like after meals. The process typically takes 3 to 6 months, but starting after 24 months is linked in research to higher odds of daytime wetting, according to a regression analysis in an NIH-published study.
The 3-to-6 month timeline isn’t a guess. It’s the documented window from the Canadian Paediatric Society for a child to be out of diapers for good. That length exists because you’re teaching a complex physical skill, not just waiting for a developmental switch to flip. Your job is to build the habit around their body’s natural rhythms.
What follows: how to spot the difference between a true readiness sign and a nice-to-have, the one piece of gear that matters more than any other, the exact sitting-time formula from a specialist charity, and the step-by-step first-day routine that sets a calm tone.
Key Takeaways
- The most cited readiness signs, like telling you they’re wet, are outcomes of training, not prerequisites. You can start building the sitting habit before they can pull their own pants down.
- Foot support is non-negotiable. A potty chair or a toilet seat adapter with a footstool puts your child in the biomechanically correct position to fully empty their bowels.
- Start with very short sits, just a minute or two while fully clothed. The Paediatric Bladder Bowel UK guide recommends building to about one minute for each year of your child’s age.
- Constipation is the arch-nemesis of potty training. Painful bowel movements will shut down progress faster than any tantrum. Address it with your doctor before pushing forward.
- If your child has additional needs, waiting for classic readiness signs may be the wrong strategy. A calm, consistent, and sustained skills-based approach can start much earlier.
What “Ready” Really Means (And When It Doesn’t)
The standard checklist says to wait for your child to show interest, stay dry for two hours, and communicate needs. For many kids, those are helpful clues. But treating them as rigid gates you must pass through can delay you unnecessarily.
A 2012 regression analysis published in the NIH journal Paediatrics & Child Health found that toilet training after 24 months was associated with higher odds of daytime wetting. The mean age of children with incontinence in that study was 31.7 months.
The skills on the readiness checklist are often the results of practice, not the pre-conditions for it. A child learns to recognize the feeling of a full bladder by sitting on the potty at predictable times and making the connection. They learn to communicate the need after they understand what the feeling means.
For children with additional needs or disabilities, the common advice flips entirely. The Paediatric Bladder Bowel UK guide states clearly: “Not showing the usual signs does not mean your child cannot potty or toilet train.” Their recommendation is to start teaching the necessary skills early with a calm, persistent approach, rather than waiting for signs that may never appear. This is a direct contradiction to the commodity advice and a vital non-commodity insight for many families.
So when do you start? The Canadian Paediatric Society notes some children are ready at 18 months, but most start between 2 and 4 years. Watch for the simplest signal: a predictable pattern. If your child has a bowel movement around the same time each day, that’s a solid green light. Everything else you can teach.
Gather Your Gear (You Only Need Three Things)
You can buy singing potties and light-up stickers. They’re fine. But three items are mandatory, and one of them has a specific physical requirement that most parents miss.
- A Potty Chair or Toilet Seat Adapter. A standalone potty chair is often easier for beginners. The key, as outlined in the BBUK guide, is the position: bottom well supported, feet flat on the floor, and knees higher than hips. This posture relaxes the pelvic floor and makes elimination easier. If you use the big toilet, you need a reducer seat and a footstool to achieve the same position.
- Training Pants or Cotton Underwear. The physical sensation of wetness is a powerful teacher. Diapers are too good at their job; they wick moisture away so efficiently a child may not even notice they’ve gone. Switch to training pants or underwear when you begin your routine in earnest.
- A Stool Softener (If Needed). This isn’t sold in the baby aisle, but it might be your most important tool. Constipation makes bowel movements painful, which can cause a child to actively withhold stool. If you see hard pellets, straining, or avoidance, talk to your doctor before you train.
The 7-Step First-Day Routine (And Why It Works)
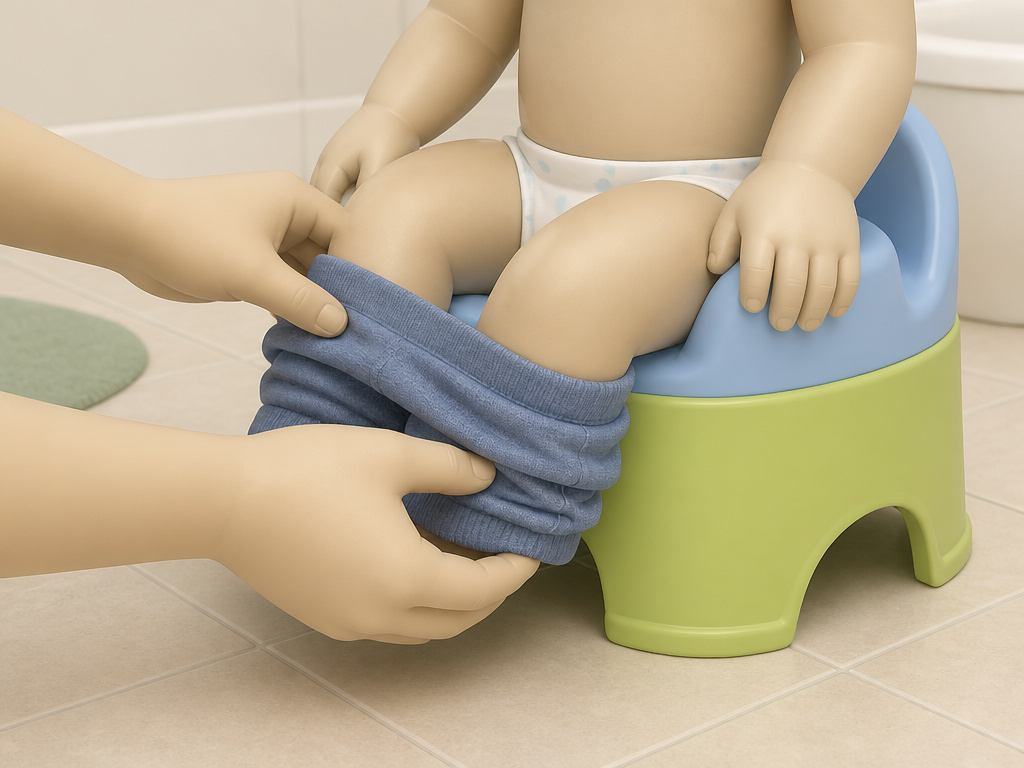
Your first day sets the tone. The goal isn’t success, it’s establishing a no-pressure routine. Here’s the sequence, with the consequence of skipping each step.
Step 1: Introduce the potty while your child is fully dressed. Let them explore it. Sit them on it to read a book. Skipping this makes the potty a strange, medical-looking object, and they’ll resist sitting later. Step 2: Pick your timing. The first sit of the day should be first thing in the morning or about 30 minutes after a meal or big drink, when the body’s natural reflexes are strongest. Step 3: Use clear, simple language. “It’s time to sit on the potty.” Don’t ask “Do you want to go?” The answer will often be no, even if they need to. Step 4: Keep the sit very short. Start with 2-3 minutes, even if they’re just sitting there. The BBUK guide advises gradually building to one minute for each year of their age. A three-year-old shouldn’t be marooned for more than three minutes. Step 5: Help with clothing. Pull pants and diaper down yourself. The fine motor skill to manage clothing often comes months after bladder control. Step 6: Praise the effort, not the result. “Good job sitting!” If they actually go, celebrate calmly. Making a huge production can create performance anxiety. Step 7: Wash hands together. This ends the routine cleanly and builds the lifelong hygiene habit from day one.
Where this goes sideways: Letting a sit drag past five minutes. After five minutes of straining or boredom, the whole activity becomes a negative power struggle. Set a timer.
If nothing happens, say “All done!” and help them off. The muscle memory of the routine matters more than a productive sit on day one.
Navigating the Two Biggest Hurdles
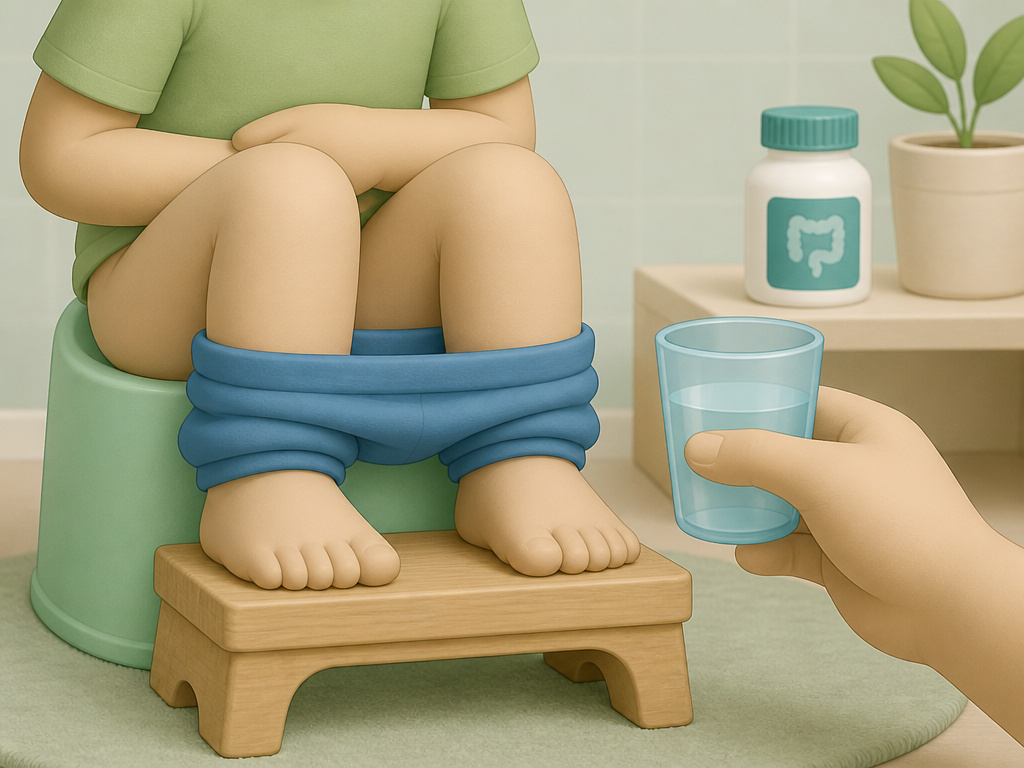
Every parent hits these. Knowing the mechanism behind them turns a crisis into a manageable bump.
Hurdle 1: Fear of the Poop
This is usually about posture or pain. If your child withholds stool or only goes in a diaper, check their footing. Without feet flat and knees up, they can’t generate the intra-abdominal pressure to push comfortably. Go back to the potty chair with a footstool. If posture is fine, suspect constipation. A painful experience once is enough to make them clamp down to avoid it again. This is a medical issue, not a behavioral one. Pushing training here will backfire.
Hurdle 2: Sudden Regression
Your child was dry for weeks, and now you’re changing multiple outfits a day. The Canadian Paediatric Society explicitly links this to stress: a new sibling, a move, a change in daycare. Their advice is pragmatic: it’s okay to go back to diapers for a short period. The skill isn’t lost; it’s been buried under big feelings. Apply no pressure. Re-establish the basic sitting routine without expectation, and the control usually returns when the stressor passes.
| Hurdle | Likely Cause | The Fix | Timeline |
|---|---|---|---|
| Withholding stool | Painful constipation or unstable sitting position | Treat constipation medically; ensure feet are supported with knees above hips | Address before resuming training; may take 1-2 weeks |
| Daytime accidents after success | Life stress (move, new baby) or urinary tract infection | Revert to diapers temporarily without shame; rule out UTI with doctor | Regression often lasts 1-3 weeks |
| Refuses to sit at all | The activity became a power struggle or is timed wrong | Stop all training for 1-3 months (per CPS advice); reintroduce as a no-pressure game | A full break resets the dynamic |
Special Considerations: Boys, Girls, and Additional Needs
The core principles are the same, but a few tactical shifts matter.
For a boy, start with sitting down for everything. It’s simpler, and it prevents the distracting, and messy, novelty of aiming. You can introduce standing up later as a “big kid” skill after daytime control is solid. Our article on training a boy dives deeper into this transition.
For a girl, teach wiping front to back immediately, even when you’re doing the wiping. This prevents bacteria from the rectum from reaching the urethra, which is a primary cause of childhood urinary tract infections. Our guide on starting with a girl covers this and other anatomical specifics.
For children with additional needs or disabilities, the framework shifts from “readiness” to “skill-building.” As the BBUK guide states, training can be introduced from infancy as part of a routine. The focus is on consistent timing, proper supportive equipment (often provided by an occupational therapist), and celebrating any approximation of the routine. The absence of typical signs is not a stop sign.
How Long This Actually Takes (And When to Get Help)
Manage your expectations. The Canadian Paediatric Society states toilet learning can take between 3 and 6 months before a child is out of diapers for good. Nighttime dryness is a separate neurological milestone and often isn’t achieved until age 4, 5, or even older.
Common mistake: Quitting after two weeks because “it’s not working.” You’re building a habit, not installing software. Three months of consistent routine is the minimum investment for a durable result.
If you’ve been consistently following a routine for over three months with zero progress, or if your child is over 4 years old and not daytime trained, consult your pediatrician. The same goes for any signs of physical discomfort, blood in stool, or severe withholding. These can indicate underlying issues like chronic constipation or anatomical concerns that need medical management.
Your goal isn’t a diaper-free life by a certain date. It’s a child who understands their body’s signals and has the confidence to respond to them. That’s a skill that takes time to bake in. For some, the three-day method works as a jump-start, but the real mastery comes in the quiet, repetitive weeks that follow.
Frequently Asked Questions
What is the best age to start potty training?
There is no single best age. While many start between 2 and 4 years, some show readiness around 18 months. Research, including an NIH toilet training research article, suggests starting after 24 months is associated with higher odds of daytime wetting. Look for a predictable bowel routine more than a long checklist of signs.
How do I start potty training if my child shows no interest?
Begin by making the potty a normal, no-pressure part of the daily routine. Have them sit fully clothed for 2-3 minutes at predictable times like after meals. You’re building the habit first. Interest often follows the routine, not the other way around. For more on overcoming resistance, see our piece on strategies for potty training a stubborn toddler.
Should I use rewards for potty training?
Simple reward system can be effective positive reinforcement for some children. Immediate, small rewards like a sticker on a chart for sitting or trying can build motivation. The key is to reward the effort and the follow-through routine, not just the accident-free outcome. We have a full guide on setting up an effective reward system.
Why is my potty-trained child suddenly having accidents?
Sudden regression is almost always caused by stress or a change in routine, like a new baby, moving house, or starting preschool. It can also signal a urinary tract infection. The Canadian Paediatric Society advises to stay calm, revert to diapers temporarily without shame, and address the underlying stressor. The skill will return.
How is potty training different for a child with additional needs?
The main difference is the strategy. Instead of waiting for readiness signs that may not appear, you focus on teaching the skill through a calm, consistent, and sustained routine, potentially starting much earlier. Proper supportive equipment is crucial. The Paediatric Bladder Bowel UK guide is an essential resource for this approach.
Before You Go
Forget the calendar and the competitive parenting chatter. Successful potty training hinges on three concrete things: a potty that gives your child physical stability, a short and predictable sitting routine you follow for months, and the wisdom to pause for constipation or stress. The Johns Hopkins toilet training guide and other major pediatric sources agree, the consistent, positive approach is the one that sticks.
Start with the sits. Watch the feet. Keep the timeline realistic. The rest is just details you can adjust along the way, whether you’re looking for fun activities or troubleshooting common challenges. You’re not waiting for readiness to arrive. You’re building it, one quiet minute at a time.
