
Master How to Change a Poopy Diaper & Cut Rash Risk Fast
This post contains affiliate links. As an Amazon Associate, we learn from qualifying purchases
Change a poopy diaper in three stages: contain, clean, and close. Unfasten the diaper, use wipes front-to-back to lift soil away from the skin, then seal the soiled diaper before applying a fresh one. For cloth diapers, solid stool can be flushed but the diaper itself must not be rinsed at the facility.
The front-to-back rule isn’t just about tidiness. It’s the primary defense against moving bacteria from the rectum toward the urethra, which is the mechanical cause of most urinary tract infections in infants. Skipping that directional wipe introduces the single biggest hygiene risk in the entire process.
What follows is the protocol that meets state childcare licensing standards. We’ll cover the exact supplies, the wipe sequence that prevents rash, the disposal rules that stop cross-contamination, and the adaptations needed for preterm babies or cloth diapers.
Key Takeaways
- Wipe front-to-back, every time. This is the non-negotiable step to prevent urinary tract infections and skin irritation.
- Dispose by containment. Fold the soiled surface inward and place it in a covered, hands-free receptacle immediately — never set a dirty diaper on the floor or changing table.
- Dry the skin completely. Moisture trapped under a new diaper is the fastest route to diaper dermatitis.
- Cloth diapers have different rules. Do not rinse them at a childcare facility; store soiled cloth diapers in a sealed, labeled container or bag for removal.
- Adjust your approach for preterm infants. A routine change can cause dangerous stress; use developmentally sensitive care to minimize physiologic instability.
The 3-Step Poopy Diaper Change Protocol
This isn’t a casual wipe-and-go. A poopy diaper change is a controlled hygiene procedure. The goal is to remove the irritant (stool) from the skin completely, contain the biohazard, and re-establish a dry, protected barrier without spreading contamination.
The official Manitoba Education diapering procedure PDF breaks it into a clear sequence used in schools and care settings. It translates directly to your home changing table.
Before you start: Have all supplies within arm’s reach. Never turn your back or step away from the child on the changing surface, even for a second. Soiled diapers can contain gastrointestinal pathogens that spread to hands, clothes, and surfaces.
Step 1: The Contained Unfastening
Lay the child down on a clean surface. Unfasten the dirty diaper but do not remove it yet. Use the front, clean portion of the diaper to gently wipe away the bulk of the stool from the skin, lifting it upward and away.
This initial containment move is critical. It limits the spread of stool over a larger skin area and makes the detailed cleaning in Step 2 more manageable. If the child is a boy, keep the front of the diaper loosely over him during the clean-up to avoid an unexpected shower.
Where this goes sideways: Pulling a loaded diaper out from under the child without this containment step. It drags stool across the lower back and thighs, contaminating a much larger skin area and often the changing pad itself. You then have to clean the child and the station.
Step 2: The Clean Wipe
With the bulk soil lifted, it’s time for the precision clean. Lift the child’s ankles gently with one hand. Use your other hand to wipe with a fresh, moistened cloth or commercial wipe.
The rule is front to back, always. Start at the pubic area and wipe toward the rectum. Use each wipe once, then discard it. For girls, this direction is essential to avoid introducing fecal bacteria into the urethra. For boys, it’s simply the most logical and cleanest method.
Continue wiping until the skin is completely clean. Check all the folds — inner thighs, between the buttocks, and around the genitals. Stool hides in creases.
Step 3: The Secure Close
Once the skin is clean, slide the soiled diaper out from under the child. Set it aside, folded in on itself with the soiled surface contained inside.
Now, dry the skin. Pat gently with a clean, dry cloth or towel. This step is mandated by the Texas Administrative Code caregiver rules: “Ensure that the child is dry before placing a new diaper on the child.” Damp skin under a sealed diaper macerates in minutes, breaking down the skin’s barrier and inviting rash.
Apply any barrier cream or ointment if needed, then fasten the clean diaper. Immediately dispose of the soiled one.
| Step | Key Action | Why It Matters |
|---|---|---|
| Contain | Use diaper front to lift bulk stool. | Limits skin contamination, makes cleaning easier. |
| Clean | Wipe front-to-back with fresh wipes. | Prevents UTI, removes all irritants from skin folds. |
| Close | Dry skin completely, then apply new diaper. | Wet skin + occlusion = diaper dermatitis. |
Gather Your Supplies Before the Child is on the Table
You need a dedicated station. Fumbling for a wipe while holding ankles is how accidents happen. The Texas child care facility regulations are explicit: “Keep all diaper-changing supplies out of children’s reach.” This means organized, not chaotic.
Here’s the must-have setup: – Clean diaper. Opened and ready, tabs facing the correct direction. – Wipes. A commercial pack of sensitive skin wipes like WaterWipes or Pampers Pure is preferable for newborns. Have the pack open. – Barrier cream. Have your chosen diaper cream (like Aquaphor or Desitin) open and within reach if you plan to use it. – A clean, dry towel. For the essential pat-dry step. – A change of clothes. In case of blowouts. – A dedicated, lined trash can with a hands-free lid. This is non-negotiable for disposal.
A well-organized diaper changing pad on a stable surface completes the station. The pad should be wipeable and have a slight raised edge for safety. Never use a bed or sofa — the height and softness increase fall risk.
Disposal: It’s a Biohazard, Not Just Trash
You cleaned the baby. Now you must contain the waste. The public health guidance from Fightbac.org is unambiguous: soiled diapers increase microbial pathogens in solid waste and impact human health.
For disposable diapers:
- Fold the soiled surface inward so the stool is contained inside.
- Use the tabs to seal it into a tight bundle.
- Immediately place it in a plastic-lined, covered, hands-free receptacle. This receptacle must be within arm’s reach of you during the change.
- Do not place the dirty diaper on the floor, the changing table, or any other surface. That transfers pathogens.
For cloth diapers:
The rules are stricter and designed for group care. Do not rinse or dump cloth diapers at the facility. Solid stools may be flushed into the toilet, but the soiled diaper itself must be stored in a labeled container with a tight-fitting lid (provided by a diaper service) or in a sealed plastic bag for removal by the family. That sealed bag must be sent home daily and stored away from children, food, and toys.
Using a dedicated diaper pail like the Ubbi or Dekor is the best home solution. It contains odor and provides that hands-free, sanitary disposal the guidelines require.
Special Situations: Preterm Infants and Severe Rash
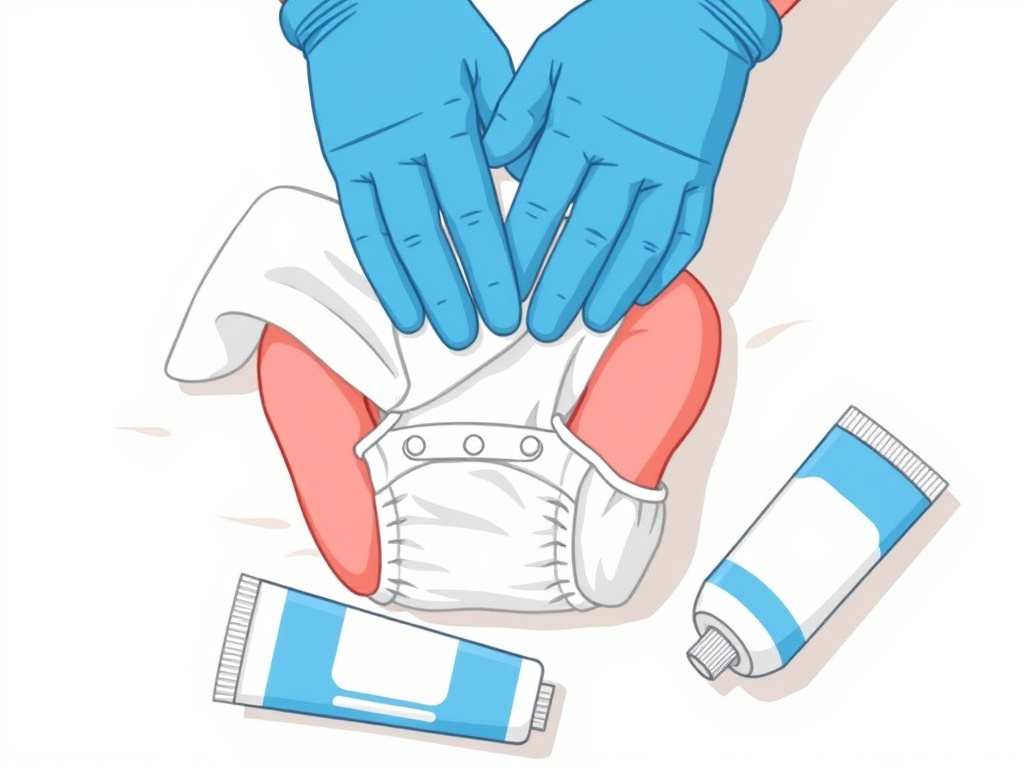 A standard diaper change assumes a healthy, term baby. The reality for preterm or ill infants is different. The European newborn health standards frame a nappy change as a procedure that “minimises skin damage, discomfort, and physiologic instability.”
For these vulnerable infants, a change can be stressful enough to cause “fluctuations in intracranial blood pressure” and “increased heart rate.” The standard calls for a “developmentally sensitive manner” of care. This might mean providing extra postural support, changing only one part of the diaper at a time, or coordinating the change with a parent doing skin-to-skin contact to mitigate stress.
If you are dealing with severe diaper rash, the change procedure adapts again. – Clean gently. Pat, don’t rub. Consider using a soft cloth and lukewarm water instead of standard wipes. – Air dry. Let the skin air dry completely for a few minutes before applying a thick layer of effective diaper cream like Triple Paste or Bordeaux’s Butt Paste. – Size up. A proper diaper fit that isn’t too tight allows for better air circulation and reduces friction on already damaged skin.
How Often Should You Change a Poopy Diaper?
The answer is immediately. Urine can wait a bit thanks to modern Super Absorbent Polymers (SAP), but stool is a chemical and microbial irritant. The moment you know there’s poop, you change.
For wet diapers, a 2022 review in ScienceDirect suggests a diaper “should be changed at least every 1 to 3 h during the day and at least once per night.” That’s the baseline for maintaining skin health and monitoring your diaper change frequency. Relying on a diaper to feel “full” or waiting for a smell is a direct path to rash.
TL;DR: Poop gets an immediate change. Pee gets a change every two to three hours, day and night. Watch the clock, not just the diaper.
Frequently Asked Questions
What if the poop is really sticky and hard to clean?
Use a wipe dampened with warm water to help soften and lift the stool. You can also apply a small amount of coconut oil or your diaper cream to a clean wipe to act as a gentle cleanser and barrier. Avoid vigorous rubbing. If sticky poop is a constant issue, discuss diet with your pediatrician.
Can I use baby powder during a change?
Most pediatricians and the Texas Administrative Code caregiver rules advise against talc-based powders due to inhalation risk. If you use powder, choose a cornstarch-based product, apply it to your hand first away from the baby, and then pat it on the skin. Never shake powder directly onto the child.
How do I prevent getting peed on during a change?
For boys, keep the front of the clean diaper or a small washcloth over him until you are ready to fasten the new diaper. For girls, the risk is lower, but having the new diaper unfolded and ready to place immediately after drying is the best defense. Speed and preparedness are your allies.
Is it okay to change a diaper on a bed or couch?
No. Always use a firm, secure, elevated surface like a changing table or a pad on the floor. Soft surfaces increase the risk of rolling and falls, and they are harder to clean properly if contamination occurs. A dedicated diaper changing pad on a stable dresser is the safest home setup.
What’s the biggest mistake people make during a poopy diaper change?
The most common error is not drying the skin thoroughly before closing the new diaper. Trapped moisture is the primary physical cause of diaper dermatitis. Pat the skin dry with a clean towel every single time, even if you used “dry” wipes. The second biggest mistake is wiping back-to-front, which introduces bacteria where it doesn’t belong.
The Bottom Line
Changing a poopy diaper is a straightforward but precise hygiene task. Success hinges on three moves: contain the mess, clean front-to-back, and close with dry skin. Follow the official public health and childcare licensing protocols for disposal to keep everyone safe. Adjust your technique for sensitive situations like preterm care or existing rash. Get your station set up right, and the whole process takes less than three minutes. Do it well every time, and you’ll stop most rashes before they ever start.
